Waterproofing construction joints with injection tubes - White tanks
A “white tub“ refers to a concrete construction with increased resistance to water penetration. The building units are as a rule partly or completely in contact with the ground. The concrete adopts, without additional waterproofing measures, a loadbearing as well as waterproofing function. When producing the structure, construction joints exist between cast segments which must be waterproofed against ground water and moisture through special measures. The pre-laying of PVC pressure grouting hose has proven to be an efficient system. Thus it is possible to quickly and simply waterproof the concrete by injecting a resin, over the whole joint area and in potential defects spread throughout the concrete.
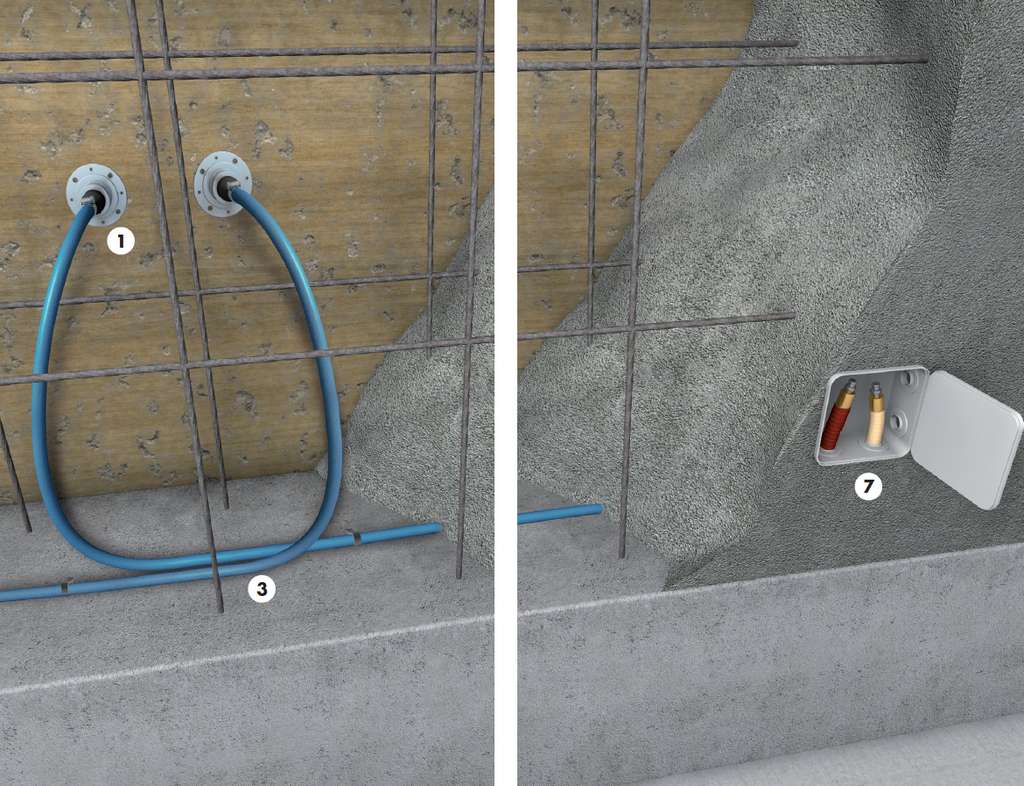
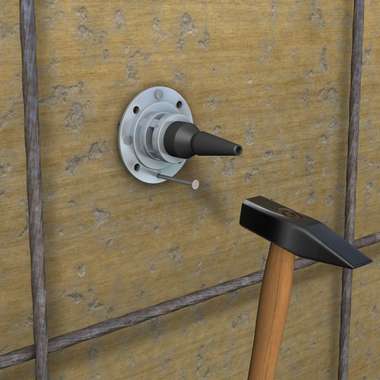
1 Standard packer
Nail a standard packer to the inner side of the mould at the start and end points (max. 10 m), mount the pressure grouting hose and then fix with a hose clamp.
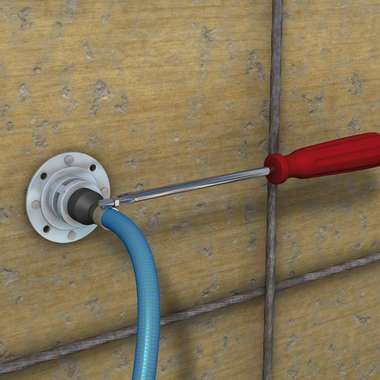
2 Fixing the pressure grouting hose
Carefully fix the AQUAFIN-CJ1 pressure grouting hose to the packers using hose clamps.
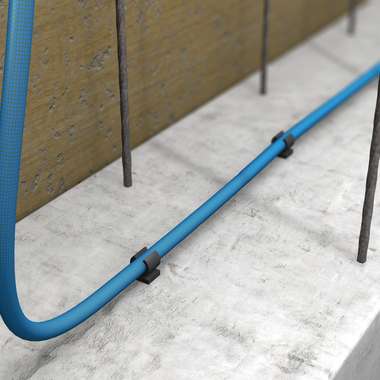
3 Laying the pressure grouting hose
Lay the perforated pressure grouting hose ensuring it will be covered by a minimum of 8 cm of concrete on the water-bearing side and fix to the concrete using plastic clips (6 pieces per m) in order to prevent slipping or floating.
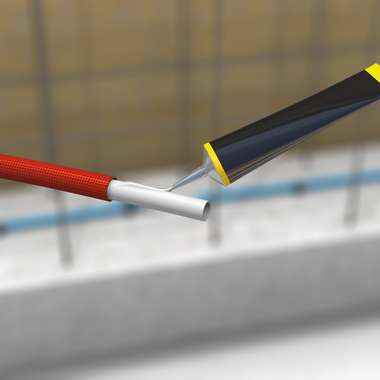
4 Bonding the breather pipe
Liberally apply the enclosed PVC adhesive to the exposed connection opening on the breather pipe.
5 Connecting the pressure grouting hose
Immediately attach the AQUAFIN-CJ1 pressure grouting hose to the thus prepared breather pipe – then wait for the drying time.
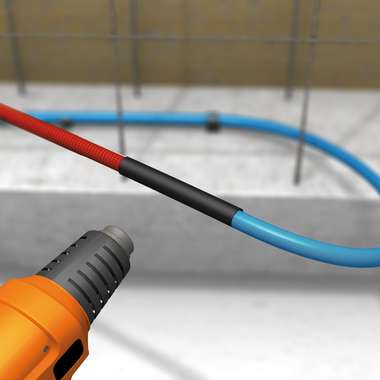
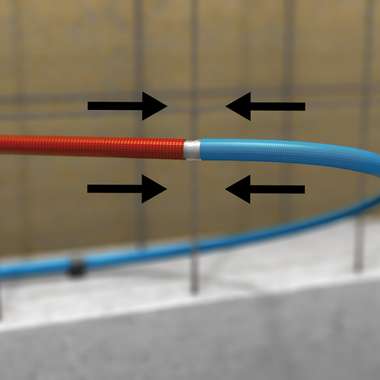
6 Completely bond the breather pipe
Pull approx. 6–8 cm of heat shrink sleeving over the connection between breather pipe and pressure grouting hose and heat up the
conenction using hot air until the heat shrink sleeve has pulled tightly over the connection. The breather pipe is not perforated and therefore guarantees the transportation of the injection material in the perforated injection hose.

7 Connect the various hose sections
Feed the ends of the vent pipes into a protective box and furnish with an injection nipple prior to injecting (e.g. with AQUAFIN-P1 or AQUAFIN-P4).