Ground-level installation solutions - Double-facade masonry work, without basement
Waterproofing ground-level elements in doublefacade wall structures is a special challenge for planners and the workers implementing it. The fact that waterproofing also involves a variety of professions is also difficult. The AQUAFIN sealing system, which consists of a variety of highly elastic joint tapes combined with AQUAFIN-RB400 flexible cementitious waterproofing, enables the particular element to be reliably waterproofed within the context of alternating materials.


1 Wall-base slab connection waterproofing
The first application step is to apply waterproofing with AQUAFIN-RB400 until up to the front side of the concrete base slab.

2 Install ASO-Joint-Tape-2000-S
While the first application step with AQUAFIN-RB400 is still wet, ASO-Joint-Tape-2000-S is installed at an angle free of voids. Joint adhesion is always completed with an overlap of 5-10 cm.

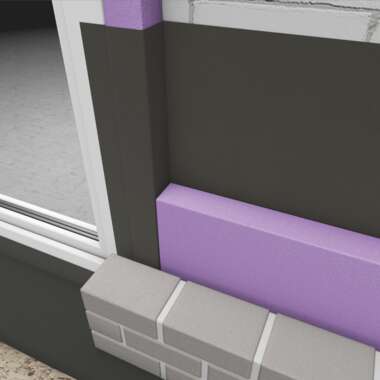
3 Install wall edge insulation strips
Next, the wall edge insulation strip is installed or fastened in the area of the window soffit using AQUAFIN-RB400.

4 Ground-level element assembly
Installation and stabilisation of the ground-level element is completed in accordance with the manufacturer’s instructions.

5 Horizontal detail waterproofing
Fasten ASO-Anschlussdichtband after removing the separating strip by pressing on the installation element and the insulation strip. The joint tape is adhered to the substrate using AQUAFIN-RB400.

6 Vertical detail waterproofing
ASO-Anschlussdichtband is fastened on the installation element as described in step 5. The joint tape is also adhered to the substrate using AQUAFIN-RB400.

7 Protection against back floating possibility
In order to avoid back floating possibility, the area of the previously completed joint tape application and the corner of the insulation strip are secured by installing ASO-Joint-Tape-2000-S-Corner. AQUAFIN-RB400 is used for adhesion.
8 Installation in waterproofing
After installation of detail waterproofing, joint tape in the area of the base waterproofing is coated in two layers with AQUAFIN-RB400.

9 Completed wall structure
After completely drying the base waterproofing, the insulation and facing structure is completed.